 | The instructions in this article relate to Roll Master Editor. The icon may be located on your StrataMax Desktop or found using the StrataMax Search. |
The Roll Master Editor is where both Agent and mortgagee contacts are managed in StrataMax. This article will refer to both as ‘contacts’ as the instructions remain the same for both.
- The enhanced validation has been designed to reduce duplicate contacts, meaning changes to the title of the contact will be restricted to prevent overwrites and duplications.
- A visible notification is included to alert users when a duplicate email address has been entered.
- A list of lots that currently have their levies and/or correspondence sent to it are displayed.
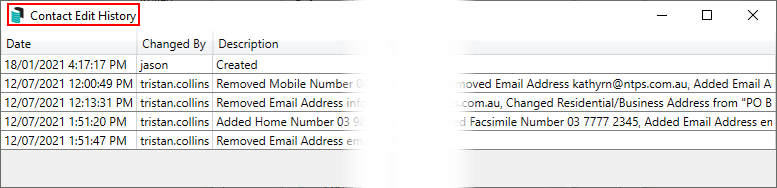
- The history of changes to the contact details are available.
Email Levy Notice and Correspondence to Agent Contacts
The below setting must be configured in order for StrataMax to deliver the correspondence or levy notice to a managing agent.
- Search or select Levy Notice/Reports.
- Click File > Configure.
- Tick the Email Levy notice and Correspondence to Global Agent/Mortgagee box.
- You can also set Email copy to owner when Notice Address is used by Global Agent/Mortgagee.
- Ticking this global setting will ensure that owners also receive a copy of the correspondence if an agent is in the 'Service of Notice Address' field, or a copy of the levy notice if an agent is in the 'Levy Notice Address' field in the Roll menu.
Create a New Contact
- Search or select Roll Master Editor, and click the Edit button.
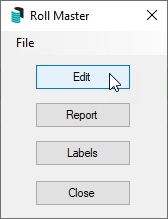
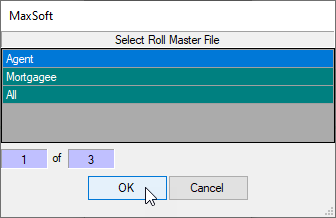
- Agent should be selected by default, so click OK, and the Contact List will appear.
- To prevent creating duplicate contacts, it is recommended to thoroughly check if a contact already exists before creating a new one. To do this, use the Search at the top of the contact list to filter contacts.
- It will search anywhere in the Title field. So typing "cial" will return contacts with the word "Special" in the title, for example.
- It will search from the beginning of the Phone and Email fields.
- Use the red X button in the Search field to clear the field.
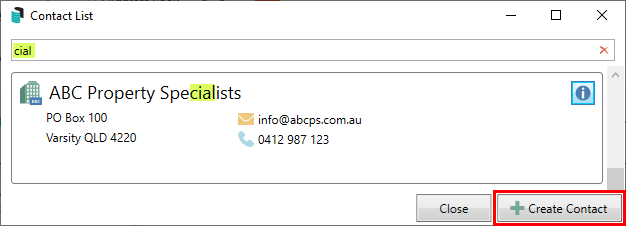
- Once you have established that there isn't an existing contact, click the Create Contact button, and the Contact Details window will open.
- Title is required and must be entered in order to save the contact.
- The Type can only be changed if you selected 'All' in step 2. after clicking the Edit button.
- The Reference Name field and type the name.
- Only Address Title (1) and Letter Title will copy across to the Roll, and will be used for correspondence and levies if a Residential/Business Address is entered in the Postal Address section.
- Enter an ABN and/or ACN if required. Both fields are validated.
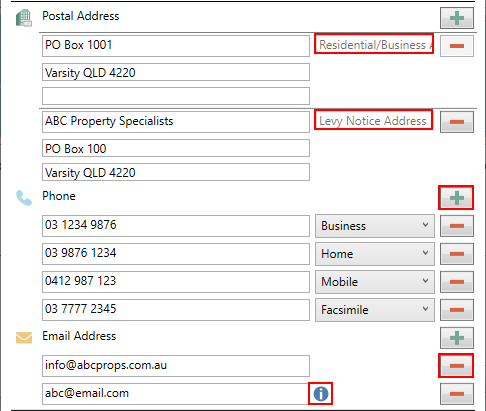
- Click the green plus button to add the Postal Address, Phone Number, and Email Address.
- Up to two different postal addresses can be added:
- Residential/Business is used in the Roll for correspondence and levies. Note that when entering a Postal Address, only the first two lines will be pushed through to the Roll record.
- Service of Notice is used in Label Printing.
- Additional phone numbers and email addresses can be added by simply clicking the green plus button.
- To delete them, click the red minus button.
- If a duplicate email address is found in another contact, a notification icon will appear.
- Up to two different postal addresses can be added:
- Under the Delivery Preferences section, tick the required box to send Correspondence and Levy Notices via post and/or email.
- This will be reflected in the Roll.

- This will be reflected in the Roll.
- Click the Save button, then Close.


Agents & Mortgagees can only be deleted if they have never been used; this is to maintain all history & log records.
View or Edit a Contact
To be able to edit the Office Bearer Contact Details, you will need the following 'Edit' permissions under the 'Roll' category in Security Setup.

- Search or select the Roll Master Editor, and click the Edit button.
- Agent should be selected by default, so click OK, and the Contact List will appear.
- Use the Search at the top of the contact list to filter contacts.
- It will search anywhere in the Title field. So typing "cial" will return contacts with the word "Special" in the title, for example.
- It will search from the beginning of the Phone and Email fields.
- Use the red X button in the Search field to clear the field.
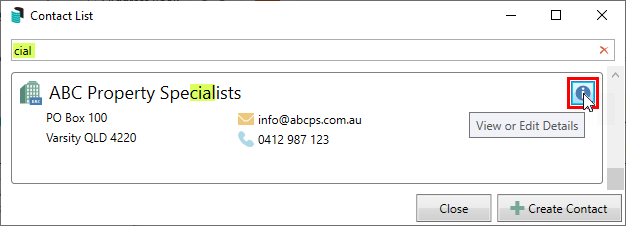
- Click the blue Info button to open the Contact Details window.
- To edit the details, click the Edit button.
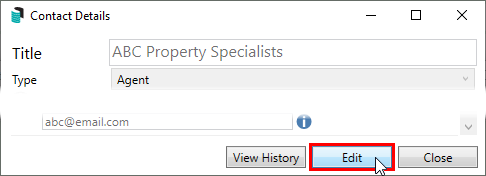
- The Title can only be edited to a certain point. If more than ten percent of the title is altered, you will be prompted to create a new contact.
- The Type cannot be changed.
- The Reference Name field may be changed freely.
- Only Address Title (1) and Letter Title will copy across to the Roll, and will be used for correspondence and levies if a Residential/Business Address is entered in the Postal Address section.
- Click the green plus button to add the Postal Address, Phone Number, and Email Address.
- Up to two different postal addresses can be added:
- Residential/Business is used in the Roll for correspondence and levies. Note that when entering a Postal address, only the first two lines will be pushed through to the Roll record.
- Service of Notice is used in Label Printing.
- Additional phone numbers and email addresses can be added by simply clicking the green plus button.
- To delete them, click the red minus button.
- If a duplicate email address is found in another contact, a notification icon will appear.
- Up to two different postal addresses can be added:
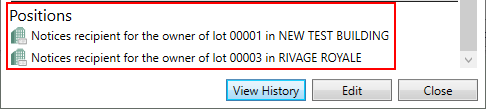
- Review the Positions section at the bottom of the Contact Details screen to see which lots are managed by this agent and will be affected by any changes.
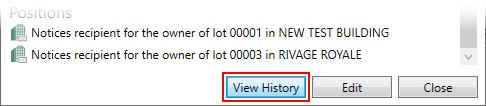
- Click the View History button to open the Contact Edit History screen, containing details of all changes made.
- Once all necessary changes have been made, click the Save button, which will automatically apply any changes to any linked lots.


Delete a Contact
If an agent / mortgagee has been removed from the roll record and is no longer referenced, please see this article for instructions on how to complete this process.
Report Agents
Reports on both agents and mortgagees are available within the Roll Master Editor. This will report the contact details recorded for the selected type.
- Search or select Roll Master Editor and click the Report button.
- Select either the Agents or Mortgagees button.
- Set print options as preferred, and click OK.
If you would like to see which lots are managed by a particular agent across the entire portfolio, check the Positions section at the bottom of the Contact Details screen.
Labels for Agents
- Search or select Roll Master Editor and click the Labels button.
- Select either the Agents or Mortgagees button.
- Tag the agents / mortgagees required and click OK.
- In the Label Printing screen, change any options as required, then click Print.
