Standard Motions and Standard Agenda Items are required to create a Standard Meeting.
Create a New Standard Meeting
Before creating a new Standard Meeting, you should create a library of Standard Motions first. These Standard Motions can then be inserted into Standard Meetings.
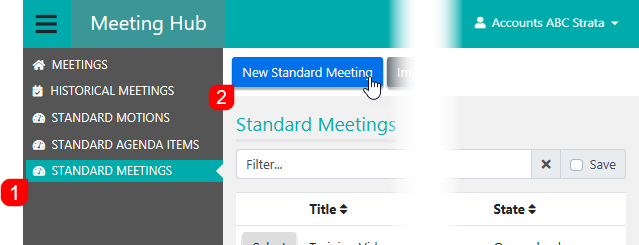
- Click the STANDARD MEETINGS menu in the Navigation Pane.
- Click the New Standard Meeting button.
- Enter the relevant details:

- Title (mandatory)
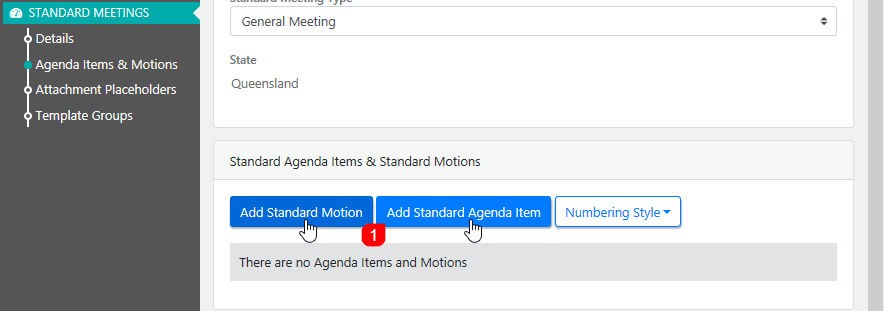
The title or heading of the Standard Meeting. - Standard Meeting Type (mandatory)
This can either be Committee Meeting or General Meeting. - State (mandatory)
The state of the standard meeting will limit the properties that can use this standard meeting. A standard meeting can only be used to create a meeting for schemes in the same state.
Copy a Standard Meeting
Standard Meetings can be copied to save time and effort when building a library of Standard Meetings to suit different meeting requirements and scenarios.
- Click the STANDARD MEETINGS menu in the Navigation Pane.
- Select the Standard Meeting that needs to be copied.
- Once the 'Standard Meeting Details' screen opens, click the Copy Meeting button.
- This will refresh the screen with the copied Standard Meeting, with the title prefixed with "Copy of...".
- Amend the necessary fields of the Standard Meeting.
- Add the necessary Template Groups at the bottom.
- Click the blue Save button at the top when all amendments have been made.
Adding Standard Agenda Items & Standard Motions
For new standard committee meetings, when selecting standard motions to add to the standard meeting, the list of standard motions to select from is filtered to those that have a resolution type that is applicable to the meeting type. Only standard motions with a Committee Resolution will be available for selection. Standard committee meetings with standard motions attached that have resolution types that do not apply to the meeting type, will be easily identified in the meeting details page by an alert icon, advising ‘Motion has an invalid required resolution for a Committee Meeting.’ The steps outlined in this section apply to both adding Standard Motions and Standard Agenda Items to a Standard Meeting.
- Click the Add Standard Motion/Agenda Item button.
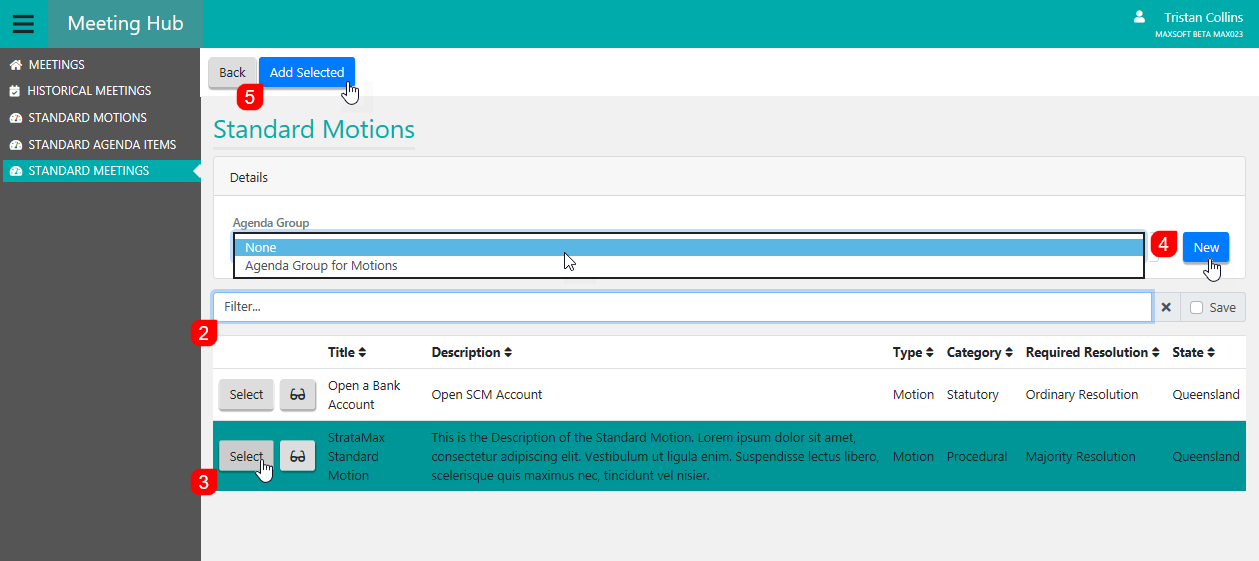
- In the Standard Motions/Agenda Items screen, you can use the Filter... field to search for a specific Standard Motion/Agenda Item.
- Select your Standard Motions/Agenda Items to include by clicking the Select button on each one. You can also preview them by clicking the preview (glasses) button first.
- If you want to group the Standard Motions/Agenda Items together under a group, either select an existing Agenda Group from the drop-down menu, or click the New button and type in a name for a new group.
- Once all Standard Motions/Agenda Items are selected, click the Add Selected button.
- Back in the Standard Meeting Details screen, the Standard Motions/Agenda Items will be listed. Any Agenda Groups will be displayed with their title in bold and their caption will be Standard Agenda Group.


Standard / Agenda Groups, Reordering Agenda Items and Motions
- After you have added the Standard Agenda Items and Standard Motions, you can change the order of them by simply using your mouse to drag & drop them up and down the list.
When using standard templates, Standard Motions should be placed underneath Standard Agenda Items for the best formatting results.
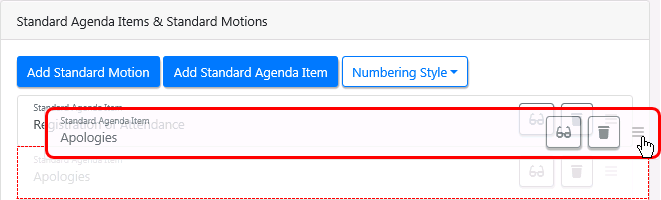
- You can also use this method to group Standard Agenda Items and Standard Motions together under a Standard Agenda Group. Note however that this can only be done by dropping them onto the bottom half of a Standard Agenda Item - NOT a Standard Motion.

- The Standard Agenda Item you dropped the other Item or Motion onto, will now have a bolded title and become the "header", and the Item or Motion underneath will be indented slightly to the right.

- Now click the Save button, and the caption on the header will change from Standard Agenda Item to Standard Agenda Group.

Committee Election Motions should be placed at the bottom of the Standard Meeting for the best formatting results.
Numbering Style
Once the Standard Agenda Items and Standard Motions have been arranged and grouped, you can click the Numbering Style drop-down button to set the numbering for the meeting items. There are several formatting options:

When using standard templates the Motions Only numbering style should be used for the best results.
No Numbering
No numbering will occur.
Motions Only (should always be used with standard templates)
Only Motions will be prefixed with a number.
Number All
Both Agenda Items and Motions will be numbered, with indentations (child items) receiving an appropriately levelled number or letter, depending on the style you chose.
Here is an example of the Meeting Minutes that have been produced based on the above items and Number Style:

Attachment Placeholders for the Meeting
Attachment Placeholders can be added to a Meeting so that the strata manager will be prompted to add attachments when a new Meeting is created based on this Standard Meeting.
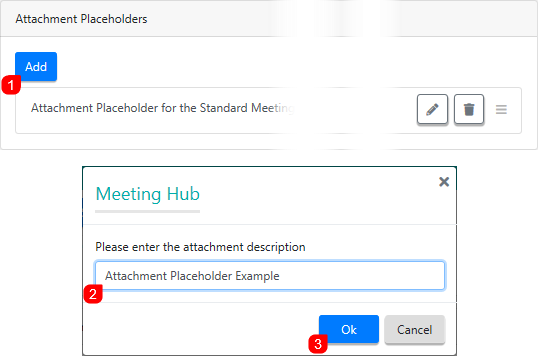
To add an Attachment Placeholder, simply:
- Click the Add button.
- Type the attachment description.
- Click the OK button.
- Once added, they can be:
- Reordered by clicking and dragging them (only if there are more than one of course).
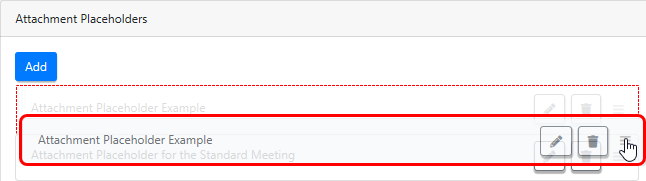
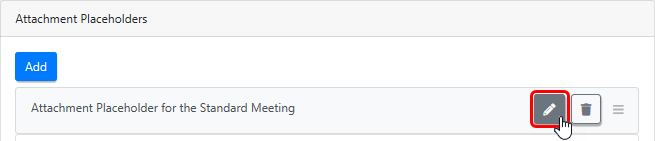
- Edited by clicking the pencil button.
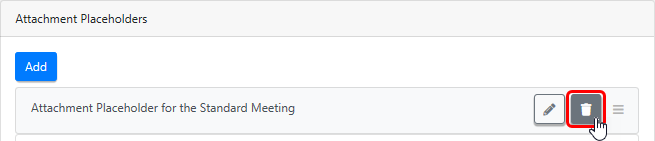
- Deleted by clicking the rubbish bin button.
- Reordered by clicking and dragging them (only if there are more than one of course).


Adding Document for a Meeting
Documents can be added to Standard Meetings, so that they will be available when a new Meeting is created based on this Standard Meeting. Simply click the Add Document button, the search and select it from the DocMax window.

Template Groups
The Template Groups section is present in the following screens in Meeting Hub: Standard Meeting Details (covered in this page), Meeting Details, and Meeting Overview. The section is used to select the Template Groups, which are the Word templates that the meeting notice, minutes, and adjourned minutes documents will be based on. These templates determine the formatting, look, and feel of the document, and contain additional wording and fields where appropriate to conform with state-specific legislation, and for ease of use.
When Meeting Hub is first enabled for a client, a set of templates are included, which are referred to as 'Off The Shelf' or 'OTS' templates. These are provided by MaxSoft, and are specific to the state(s) of the buildings in the client's StrataMax portfolio. This is because of state specific legislation and requirements that meeting notice and minutes documents must adhere to.
Word templates for the meeting notice, minutes, and adjourned minutes documents must be selected separately for each meeting type.
- Click the Notice, Minutes, or Adjourned Minutes button, depending on which document is being set up.
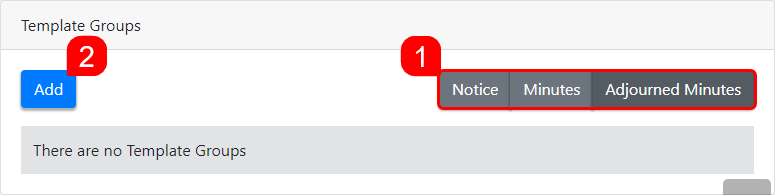
- Click the Add button to open the Template Groups selection screen.
- Use the Filter if needed, then click the Select button for each template required.
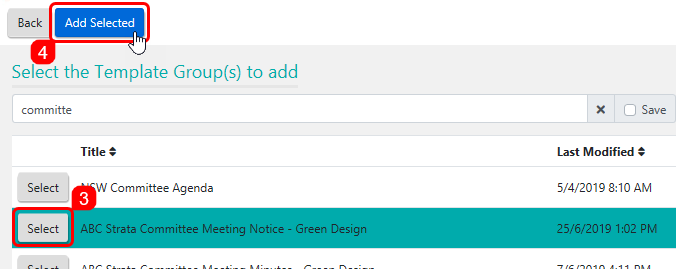
- Click the Add Selected button, and the 'Meeting Details' screen will appear again, with the template added to the Template Groups section.
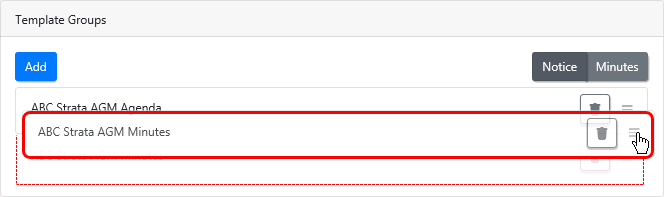
- They can then be reordered by clicking and dragging them (only if there are more than one of course).
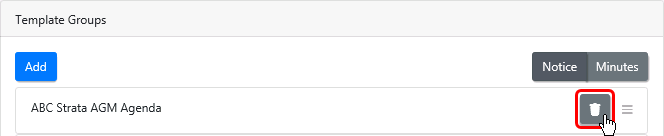
- They can be deleted by clicking the rubbish bin button.


Preview Notice or Minutes
After the Template Groups have been added, the Notice and the Minutes can be previewed by clicking the corresponding Preview button at the top of the Standard Meeting Details screen. A building will then need to be selected before clicking the blue Preview button.

This will display the document in Word so that wording can be reviewed. If unwanted spacing exists, or page breaks aren't in the correct place, these can be amended when the notice or minutes is generated from a proper meeting.
Any changes made to the preview in Word will not be saved, regardless on whether the Save function is used or not. In addition, merge fields will not be merged with StrataMax data during a preview. To test merge data, a test meeting will need to be created using this Standard Meeting as a base, so that the notice or minutes can be generated.
Now that you have finished creating the Standard Meeting, you can use it in the meeting creation process.
