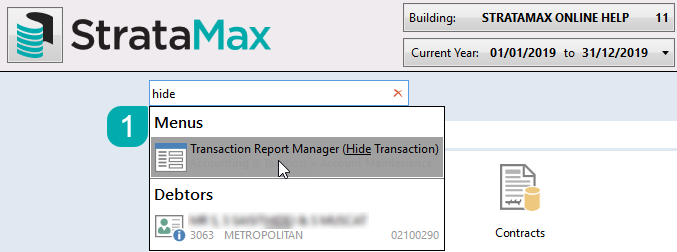
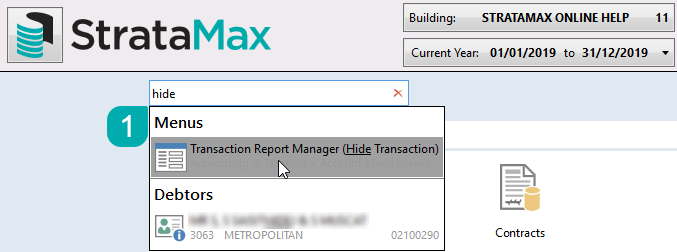
 | The instructions in this article relate to Transaction Report Manager. The icon may be located on your StrataMax Desktop or found using the StrataMax Search. |
The Transaction Report Manager menu is designed to hide certain transactions on reports. These transactions are still in the system but will not display on debtor Ledger Cards, in the Account Summary, or the Transaction List. For example, journals processed to correct an owner's balance can be hidden to avoid cluttering the ledger card and causing confusion for the owner. Or another scenario may include hiding reversed transactions from reporting for creditor or the expense accounts if needed.
Be aware that in the Transaction List, the report can be run with the Ignore No Prints ticked under the Conditions tab, which will then display all hidden transactions. Local Transactions will also report any hidden transactions by default, and fields of restriction to either display or not can be applied.
If both ‘P’ and ‘X’ flagged transactions are selected in the same batch to change flagged items from X to P and from P to X, both must net to zero before the change can be saved. If they do not balance, the system will return a message and will not allow the user to save.
How to hide a transaction
- Open the Transaction Report Manager menu.
- By default the Show All radio button will be selected, which displays visible and hidden transactions. To display only transactions that are being presented (visible), click the Show Presented radio button.

- The screen's top section is where the first transaction is selected by clicking the entry.
- Click Select, and all the transactions for the selected code will appear in the bottom section.
- In the bottom section, tag the entries that need to be hidden, noting that the sum of the transactions must equal nil.
- To ensure these transactions equate to zero, first, locate and tag the transactions that need to be hidden, and then the opposite transactions must be located and tagged.
- Click the Save button to apply the change, and click Close to close the menu.

- After saving, each tag will disappear and the 'P' in the 'Flag' column will change to an 'X'.

Make a transaction visible again
In order to make individual transactions visible again, simply follow these steps.
- Open the Transaction Report Manager menu.

- In the top section of the screen locate the entries that are already hidden, by clicking the Show No Print radio button.
- Select the account code by clicking the entry.
- Click Select and all the transactions for the selected code will appear in the bottom section.
- In the bottom section, tag the entries that no longer need to be hidden, noting that the sum of the transactions must equal nil.
- Click the Save button to apply the change, and click Close to close the menu.

- After saving, each tag will disappear and the 'X' in the 'Flag' column will change to a 'P'.

Make all transactions visible again
These steps explain how to make all transactions in a building visible again.
- Open the Transaction Report Manager menu.

- Click the Remove All Flags button.

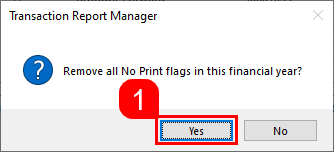
- When the confirmation appears, click Yes.

- Close the Transaction Report Manager menu.


